Parts & Accessories
$40.00
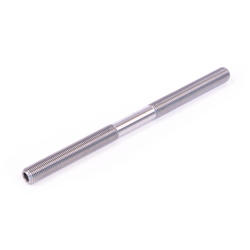
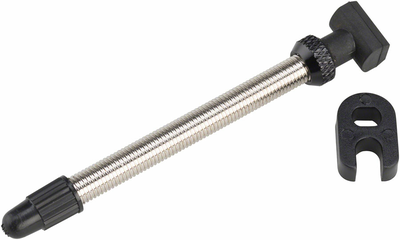
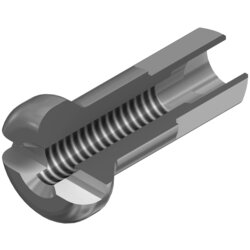
Wheels Mfg axles are made from aircraft quality 4130 alloy steel, made specifically for Wheels Mfg. It’s heat-treated to increase strength without making the axle brittle. Rolled threads make for easy assembly of cones & locknuts. - Fits many Taiwanese hubs with 135mm spacing - Type: Hollow Axle - Threads: 9.5mm x 26tpi - Diameter: 9.5mm - Length: 146mm - 1 axle per bag
$1.95 - $7.35
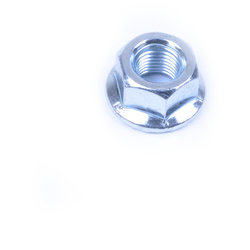
Wheels Manufacturing Outer Axle Nuts are high-grade steel nuts that provide secure wheel fixing for solid-axle wheels.
- 14mm x 1mm (1411-AN) sold in pairs
- All others sold individually
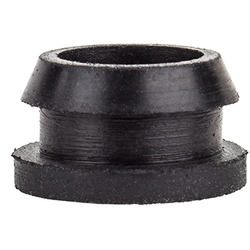
$6.99
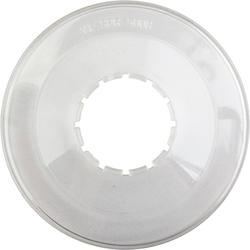
- Fits all freewheel hubs
- Will not fit Cassette hubs
- Type: STD Plastic
- Color: Clear

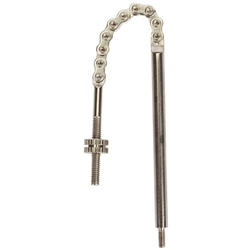
$9.99
Replacement indicator chain for three speed Sturmey Archer hubs.
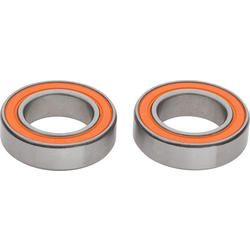
$18.00
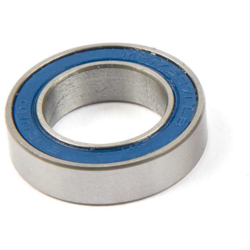
Replacement bearings for Stan's NoTubes Neo hubs. Includes 2 bearings.
- 26mm OD x 15mm ID
- 7mm thick
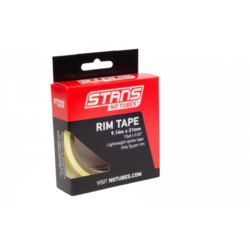
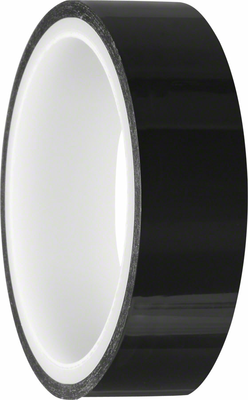
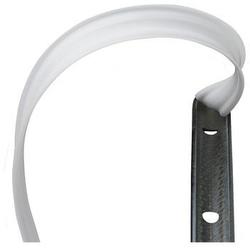
$14.99 - $24.99
Can be used with Stan's ZTR rims to make them airtight or used as a lightweight rim tape in any rim. A single 10-yard roll will tape five 26-inch rims or four 29-inch rims or two wide road clincher rims.
21mm width fits:
- ZTR Olympic
- ZTR Iron Cross
- ZTR 355
- ZTR Alpine
- ZTR Crest
- ZTR Alpha 340 (2 layers)
- ZTR Alpha 400 (2 layers)
- Most road clincher rims
25mm width fits:
- ZTR 355 (26", 650b, 29")
- ZTR Crest
- Crest MK3
- ZTR Arch EX
- ZTR Flow EX
- Crest S1
27mm width fits:
- ZTR Flow EX
- ZTR Bravo
- ZTR Hugo 52mm
- Arch S1
- ZTR Rapid 28
- ZTR Rapid 30
- Arch MK3
30mm width fits:
- ZTR Flow MK3
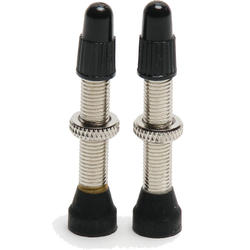
$17.99 - $19.99
Use Stan's Tubeless Valve Stems when you're converting standard rims to tubeless via the taping method. These also have a removable core for easier application of tire sealant.
Note: Schrader valve is for non-stepped Hugo rims. If your Hugo rim decal reads:
- MAX RIM PRESSURE: 2.8 tires: 26psi, 3.0 tires: 24psi
- ERD 615, 622x49.9, 29 in x 52.3mm
Your rim has a stepped valve and is not compatible with this Schrader valve.
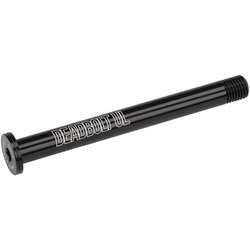
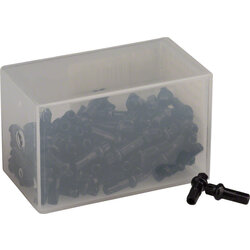
$39.00
The Deadbolt Ultralight Thru-Axles are offered in a 6mm flat button-head design, for a flush, clean look. Lightweight, easy to use, and secure.
- CNC-machined from 7000 series aluminum
- One-piece design
- Designed to fit all current Salsa thru-axle frames
- For other frames, check with the manufacturer for compatibility and other specifications
- 6mm hex wrench required for installation
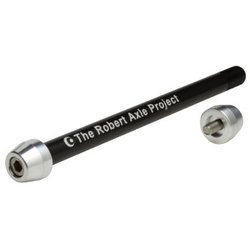
$54.00
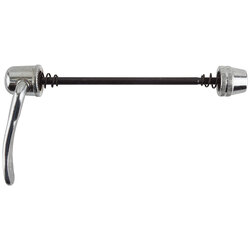
Our Trainer Axle is designed to adapt your thru-axle equipped bike to on-wheel trainers, such as a 1up, Blackburn, Cyclops, Kinetic, Tacx, Wahoo, and many others. Our goal is to fit the thru-axle to your bike perfectly to minimize spacers and extra parts, providing a clean, high-performance axle for your bike. Train, warm up, and be race ready and fit for the season.
- When it’s time for your race or time to head outside, simply remove your bike from the trainer, remove the drive side axle end and go. Our axle is suitable for use on or off the trainer, indoors or out.
- The axle shaft and axle ends are precision CNC-machined from 7075 aluminum and hard-anodized for rugged durability.
- No special tools required. Design allows for installation or wheel removal using your standard 5mm hex wrench.
- Designed, built, and quality tested in the USA. Proven around the world.
Important: Before you order, make sure your specific trainer will accommodate the width of your modern thru-axle-equipped bike. Measure your trainer at the widest setting and measure the outside width of your bike frame. Our the trainer axle ends will extend past your frame on each side.
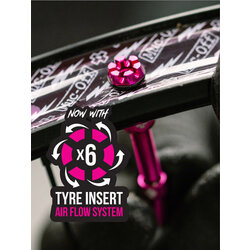
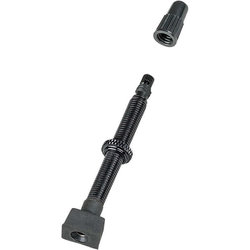
$31.99
V2 Tubeless valves are stronger, lighter, and even easier to use thanks to the machined aircraft grade 7075 aluminum and Muc-Off's new Tire Insert air ?ow system. The new design features six slots that are machined into the base of the valve stem, allows tubeless sealant ?uid and air to ?ow freely, even when running tubeless tire inserts.
- 7075 Machined Aluminum valve stem and cap
- Tire Insert air flow system keep air moving freely and compatible with most tire foam inserts
- 4mm machined Allen Key slot for easy installation and removal
- Includes Valve Core Removal Tool (integrated into spare alloy cap)
- Supplied with various rubber bases to optimize fit with multiple rim types
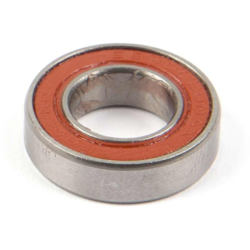
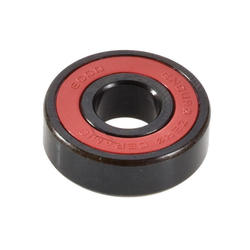
$6.18 - $10.00
- MAX bearings are filled completely with high precision Grade 10 balls for maximum load capacity
- No retainer means these bearings have 40 percent more capacity

$7.99
Replacement freehub spoke protector, in various sizes for different freehub sizes.
- Made of clear plastic
- 3 hooks for affixing to spokes
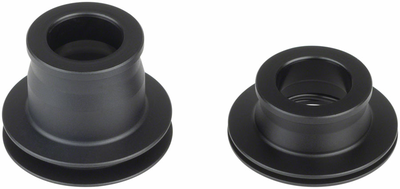
$47.70
Front axle conversion kits convert your hub to fit a new axle measurement or for a new group set.
$14.99
Tubeless valves for DT Swiss rims for repair or replacement.
- DT Swiss Narrow Base Tubeless Valve - 63mm
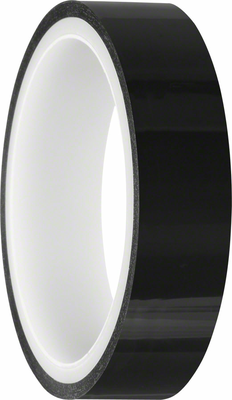
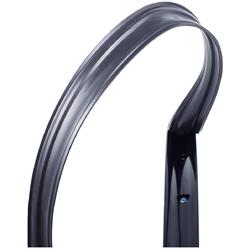
$27.00
DT Swiss tubeless ready tape seals the rim for tubeless applications and also works well as rim tape for tube-type set ups.
- Highly resistant adhesive tape works as a rim tape and airseal
$0.60 - $23.99
Ease of use, lightweight, and optimum performance in a single product.
The DT Pro Head shape, combined with both a torx and a square tool interface, makes wheel building a lot easier. The spherical contact surface aligns the nipple perfectly with the spoke. All-brass nipples are recommended for e-bike use. Weight: starting at 26g for 64 nipples.
$0.50 - $47.11
The buyer's choice for wheel builders looking to save weight.
The nipples are available with or without DT Pro Lock, a patented liquid inside the nipple thread that makes the connection between the nipple and spoke extremely durable. It pairs perfectly with any wheel, though all-brass nipples are recommended for e-bike use.
- Weight: starting at 20g for 64 nipples
$27.00
DT Swiss tubeless ready tape seals the rim for tubeless applications and also works well as rim tape for tube-type set ups.
- Highly resistant adhesive tape works as a rim tape and airseal

$9.99
These rim valves are crucial in upgrading your Tubeless Ready (TLR) Bontrager wheels to the next level of dependability and performance.
Key features:
- To be used exclusively with Bontrager Tubeless Ready (TLR) wheels
- Required for Bontrager's Tubeless Ready (TLR) system setup
- Removable valve core for easy sealant fill
- Silver MTB valve is compatible with all Bontrager Mountain wheels except: Line XXX, Kovee XXX, and Line Pro 40
- Alloy Road Tubeless Rim Valve is compatible with all Bontrager alloy TLR road wheels
$12.99
Tubeless setup made easy with valve stems designed to work as a system with Bontrager wheels, tires and rim strips
The valves you need to upgrade to Tubeless
These rim valves are crucial in upgrading your Tubeless Ready (TLR) Bontrager wheels to the next level of dependability and performance.
Product details
- To be used exclusively with Bontrager Tubeless Ready (TLR) wheels
- Use only with Bontrager TLR rim strip with rectangular base
- Required for Bontrager's Tubeless Ready (TLR) system setup
- Removable valve core for easy sealant fill
- Sold as singles
$43.00 - $73.99
- Grade 3 balls and magnetite rust proof finish
- Abec 5 precision and silicone w seals
- 3 times cryogenic race treatment
- Bearings sold individually, not as pair
$20.99
These rim strips are crucial in upgrading your Tubeless Ready (TLR) Bontrager wheels to the next level of dependability and performance.
Key features:
- To be used exclusively with Bontrager 29"/700c Tubeless Ready (TLR) wheels
- TLR Rim Strips are the light and easy solution to Bontrager Tubeless conversion
- Rim Strip replacement is recommended if removed from the wheel
- For specific compatibility, access 'WHEELS' tab on the Tech Site or contact Customer Service
$19.99
- To be used exclusively with Bontrager 29""/700c Tubeless Ready (TLR) wheels
- TLR Rim Strips are the light and easy solution to Bontrager Tubeless conversion
- Rim Strip replacement is recommended if removed from the wheel
Page 1 of 1